Bootstrap Radio Working
Overview
Sometimes the tiny aspects occur to be simply the very basic due to the fact that the full image is in fact a entirely consisting of lots of very small information perfected and gathered for check and display like a well-oiled bright machine. These strong words might probably appear a little too much when it comes down to create commands however if you just think about it for a little bit there is just a single feature letting the website visitor to pick up one out of a several provided opportunities. And so in case you're featuring some forms with this sort of options controls over your different websites does this mean they are going to all look similar? And most importantly-- would you settle for that?
Fortunately for us current version of the absolute most well-known mobile friendly framework - Bootstrap 4 arrives fully packed with a brilliant new method to the responsive attitude of the Bootstrap Radio Button commands and what exactly is bright new for this version-- the so called custom-made form regulations-- a combination of predefined appeals you can simply involve and apply in order to put in the so wanted these days variety in the graphical performances of pretty uninteresting form parts. Therefore let's have a look how the radio switches are aimed to be described and designated in Bootstrap 4. ( more info)
How to make use of the Bootstrap radio button:
If you want to develop a radio tab we initially need a
<div>.form-check.form-check-inline.radio.radio-inline.disabledIn the
.form-check<label>.form-check-label<input>.form-check-inputtype = “radio”name = “ ~ same name for all the options ~ ”id = “ ~ unique ID ~ “value=” ~some value here ~ ”disabled<input>This is also the area to determine in case you want the radio control to primarily load as checked as soon as the web page gets loaded. In the event that this is certainly what you are actually looking for-- as an alternative to
disabledchecked<input>checkedCheckbox and also Bootstrap Radio Style examples
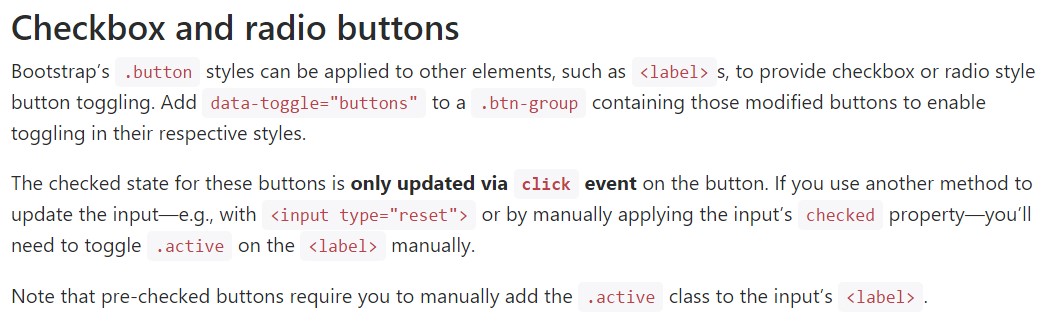
The checked condition for all these buttons is only up-dated via click event on the button. If you apply one other option to upgrade the input-- e.g., with
<input type="reset">.active<label>Keep in mind that pre-checked buttons require you to manually put in the
.active<label>Checkbox

<div class="btn-group" data-toggle="buttons">
  <label class="btn btn-primary active">
    <input type="checkbox" checked autocomplete="off"> Checkbox 1 (pre-checked)
  </label>
  <label class="btn btn-primary">
    <input type="checkbox" autocomplete="off"> Checkbox 2
  </label>
  <label class="btn btn-primary">
    <input type="checkbox" autocomplete="off"> Checkbox 3
  </label>
</div>
Radio

<div class="btn-group" data-toggle="buttons">
  <label class="btn btn-primary active">
    <input type="radio" name="options" id="option1" autocomplete="off" checked> Radio 1 (preselected)
  </label>
  <label class="btn btn-primary">
    <input type="radio" name="options" id="option2" autocomplete="off"> Radio 2
  </label>
  <label class="btn btn-primary">
    <input type="radio" name="options" id="option3" autocomplete="off"> Radio 3
  </label>
</div>
Radio button solution
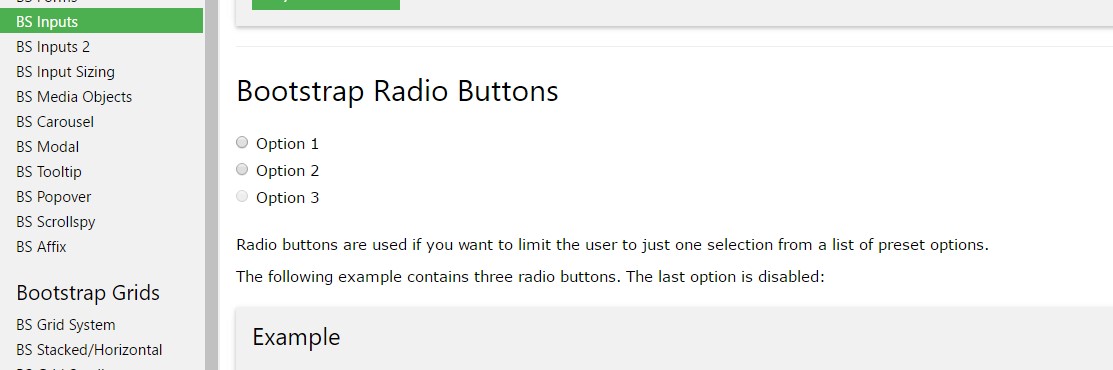
We can easily choose input features of the radio option while we want the user to pick solely one of a set of opportunities. ( helpful hints)
If there is much more than one element of this particular type together with the similar value within the name attribute, just one can be selected.

<div class="row">
  <div class="col-lg-6">
    <div class="input-group">
      <span class="input-group-addon">
        <input type="checkbox" aria-label="Checkbox for following text input">
      </span>
      <input type="text" class="form-control" aria-label="Text input with checkbox">
    </div>
  </div>
  <div class="col-lg-6">
    <div class="input-group">
      <span class="input-group-addon">
        <input type="radio" aria-label="Radio button for following text input">
      </span>
      <input type="text" class="form-control" aria-label="Text input with radio button">
    </div>
  </div>
</div>
Final thoughts
Generally this is the method the default radio switches get determined and do a job throughout within Bootstrap 4-- in a moment all you really need are several options for the users to choose from.
Examine several on-line video short training about Bootstrap Radio Button:
Linked topics:
Bootstrap buttons approved documentation
Bootstrap Radio button - tutorial
Checkbox radio buttons break entire toolbar styling
